This guide walks you through writing a simple AngularJS client that consumes a Spring MVC-based RESTful web service.
What you’ll build
You will build an AngularJS client that consumes a Spring-based RESTful web service. Specifically, the client will consume the service created in Building a RESTful Web Service with CORS.
The AngularJS client will be accessed by opening the index.html file in your browser, and will consume the service accepting requests at:
http://rest-service.guides.spring.io/greeting
The service will respond with a JSON representation of a greeting:
{"id":1,"content":"Hello, World!"}The AngularJS client will render the ID and content into the DOM.
The service at rest-service.guides.spring.io is running the code from the CORS guide with small modifications: there is open access to the /greeting endpoint because the app is using @CrossOrigin with no domain. |
What you’ll need
-
About 15 minutes
-
A favorite text editor
-
A modern web browser
-
An internet connection
Create an AngularJS Controller
First, you will create the AngularJS controller module that will consume the REST service:
public/hello.js
angular.module('demo', [])
.controller('Hello', function($scope, $http) {
    $http.get('http://rest-service.guides.spring.io/greeting').
        then(function(response) {
            $scope.greeting = response.data;
        });
});
This controller module is represented as a simple JavaScript function that is given AngularJS’s $scope and $http components. It uses the $http component to consume the REST service at "/greeting".
If successful, it will assign the JSON returned back from the service to $scope.greeting, effectively setting a model object named "greeting". By setting that model object, AngularJS can bind it to the application page’s DOM, rendering it for the user to see.
Create the Application Page
Now that you have an AngularJS controller, you will create the HTML page that will load the controller into the user’s web browser:
public/index.html
<!doctype html>
<html ng-app="demo">
	<head>
		<title>Hello AngularJS</title>
		<script src="https://ajax.googleapis.com/ajax/libs/angularjs/1.4.3/angular.min.js"></script>
    	<script src="hello.js"></script>
	</head>

	<body>
		<div ng-controller="Hello">
			<p>The ID is {{greeting.id}}</p>
			<p>The content is {{greeting.content}}</p>
		</div>
	</body>
</html>
Note the following two script tags within the head section.
<script src="https://ajax.googleapis.com/ajax/libs/angularjs/1.4.3/angular.min.js"></script>
<script src="hello.js"></script>
The first script tag loads the minified AngularJS library (angular.min.js) from a content delivery network (CDN) so that you don’t have to download AngularJS and place it in your project. It also loads the controller code (hello.js) from the application’s path.
The AngularJS library enables several custom attributes for use with standard HTML tags. In index.html, two such attributes are in play:
-
The
<html>tag has theng-appattribute to indicate that this page is an AngularJS application. -
The
<div>tag has theng-controllerattribute set to referenceHello, the controller module.
Also note the two <p> tags which use placeholders (identified by double-curly-braces).
<p>The ID is {{greeting.id}}</p>
<p>The content is {{greeting.content}}</p>
The placeholders reference the id and content properties of the greeting model object which will be set upon successfully consuming the REST service.
Run the client
To run the client, you’ll need to serve it from a web server to your browser. The Spring Boot CLI (Command Line Interface) includes an embedded Tomcat server, which offers a simple approach to serving web content. See Building an Application with Spring Boot for more information about installing and using the CLI.
In order to serve static content from Spring Boot’s embedded Tomcat server, you’ll also need to create a minimal amount of web application code so that Spring Boot knows to start Tomcat. The following app.groovy script is sufficient for letting Spring Boot know that you want to run Tomcat:
app.groovy
@Controller class JsApp { }You can now run the app using the Spring Boot CLI:
spring run app.groovy
Once the app starts, open http://localhost:8080 in your browser, where you see:
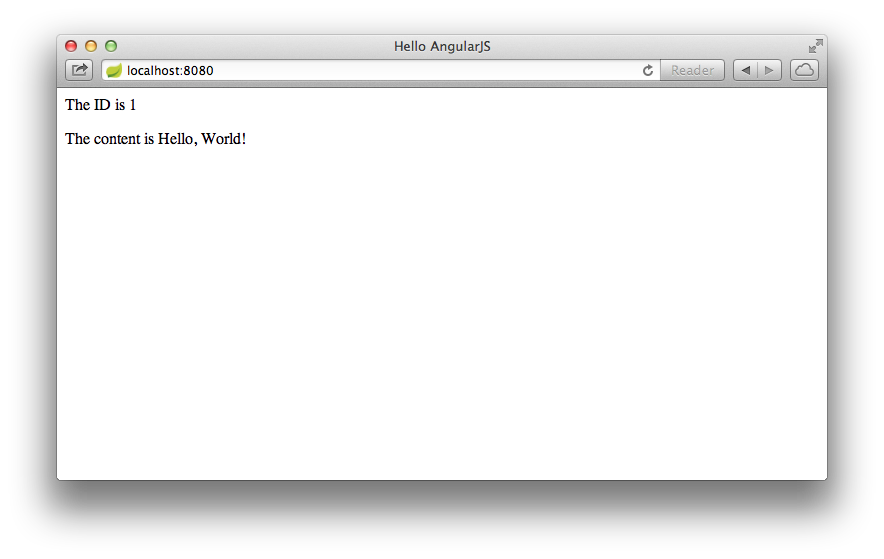
The ID value will increment each time you refresh the page.
Summary
Congratulations! You’ve just developed an AngularJS client that consumes a Spring-based RESTful web service.
See Also
The following guides may also be helpful:
Want to write a new guide or contribute to an existing one? Check out our contribution guidelines.
| All guides are released with an ASLv2 license for the code, and an Attribution, NoDerivatives creative commons license for the writing. |